...
From the phone, Click on the Google Play Store app

In the “Search for app & games” search bar type: Insight mHealth Platform

Select Install > Insight will start downloading onto the phone
After Insight downloads, choose Open
If installing on an Android 12+ device, see sections below “Location Permission on Android 12“ and “Volume and Vibrate Permissions on Android 12“
Click Allow to all permissions
Allow Insight to make and manage phone calls?
Allow Insight to take pictures and record video?
Allow Insight to access this device’s location?
Allow Insight to access photos and media on your device?
Allow Insight to record audio?
Allow display over other apps. (see below)
Android 12 additional Permissions
For Sensor-related data collection, Android 12 (or higher) devices need permission to connect to nearby devices


When the prompt “Let app always run in the background?” appears, select Allow
...
If the detailed Location Permission is not enabled when installing the Insight app or “Precise / Accurate“ Location is not enabled, the Android device will not be able to connect to BlueTooth devices.
CHANGING LOCATION PERMISSIONS
In order to revise “Precise or Approximate“ Permissions at a later time, the Location Services permissions must be accessed through Settings → Location → Locations Services. The pop-up display to select “Precise or Approximate“ will not be displayed again, even upon sequential re-install of the Insight application. Locations Services to enable BlueTooth connection using Location permissions are shown below.
...
| Note |
|---|
“Notifications“ may be a separate Volume setting on the Android device. If the Notification Volume is disabled / Mute, then the “Vibrate for Notifications“ functionality may also be enableddisabled. When that happens, there is no indication of a Scheduled Event until turning on the phone and viewing the “Time for an Assessment“ on the device screen. Check that Notficiation Notfication Volume is turned up on the device. If there is no Volume channel for Notifications, verify that all device volumes are set to a value higher than “Mute“ or “Vibrate Only.“ |
...
Go to the CMS login page “www.insightmhealth.com” and log in > Select Study
Click on the Participants tab (at the top of the CMS webpage) > Select Add New Participant button (at the top right corner)
Under the Info tab, enter a unique ID for the participant
From the Status drop down, select the Status of the participant: Active, Test, Completed, Archived
Select which Group the participant is in
Optional: Click PHI tab and enter protected health information (PHI must be enabled in Study Settings and enabled for a Role to enter or view participant’s PHI)
Click the Schedule tab
Select the Time Zone for the Participant.
 The default value of Time Zone is the Time Zone of the machine being used to create the Participant.
Enter Wake and Sleep time for the Participant
Default Sleep Schedule times are preset: Wake time is 7 am while Sleep time is 10pm.
Optional: Changing Preferred time (Researcher decides if a Study will use this function). The default time is set for 6:00 PM regardless of function use.
Optional: Click the Settings tab to enter additional information
Settings are dependent on what is enabled for the Study
Once finished adding all required information, the Create Participant button will be enabled > Click the Create Participant button (at bottom center of CMS webpage)
The participant is created > Find and Select the Participants tab > Search for the unique ID of the participant > Click on the participant
Find the participants Setup Code (at the top center of the CMS webpage)
[Refer to the note at the end of Method 1]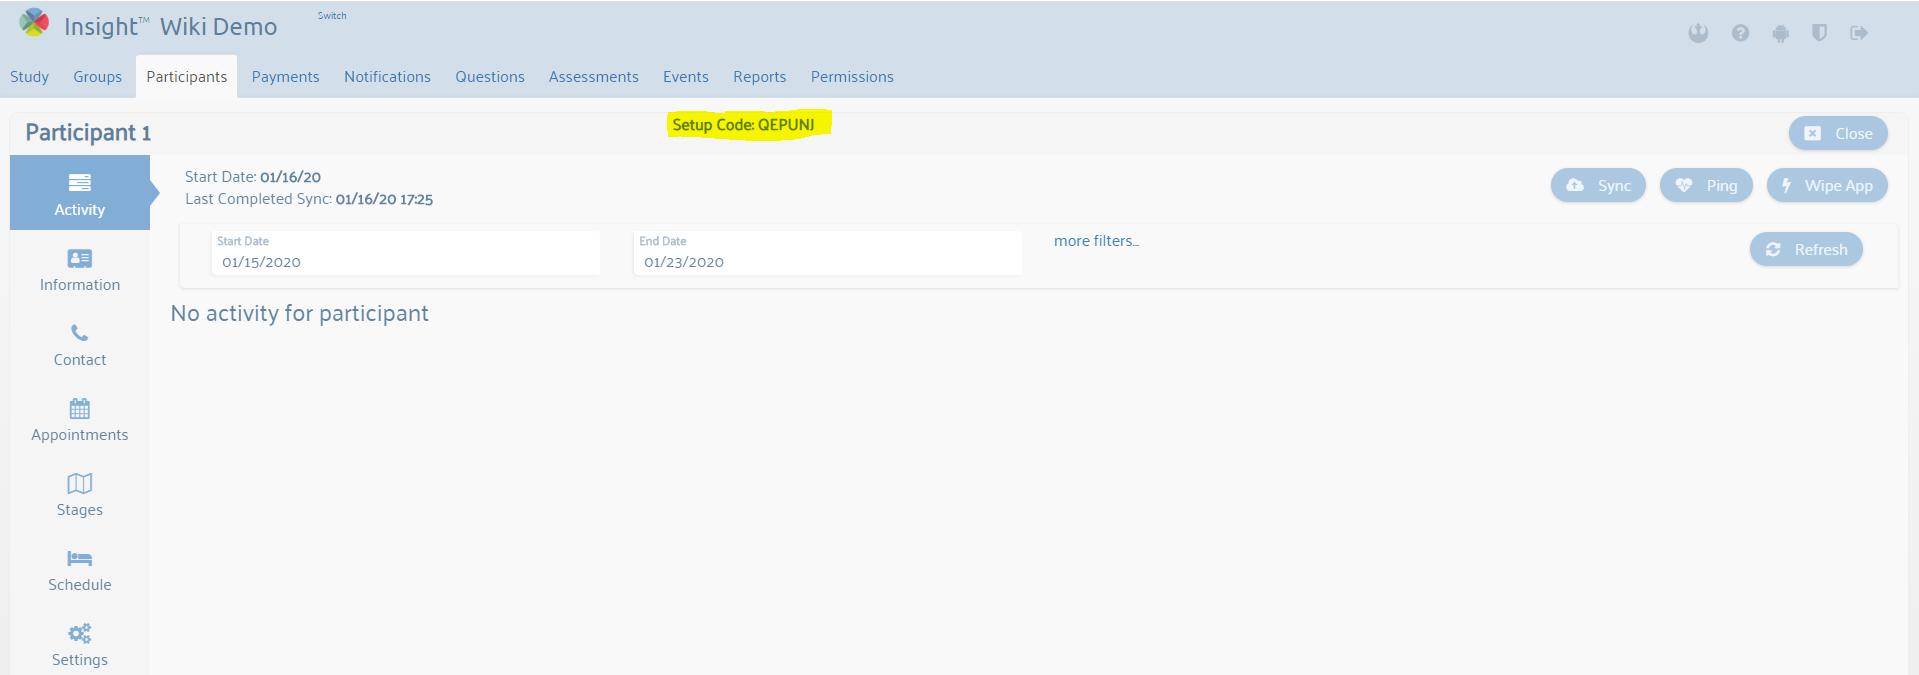
Make note of this Setup Code as it will be used to set the participant up on a phone.This code is used once, but it can be reset one (1) time for extenuating circumstancesbe used to set the participant up on a phone.
At this point, Open Insight on the participants phone
In the Code field, enter the Setup Code from the CMS > Select the Check button

Insight will configure the study > Once configuration is done, the participant is now set up on a phone
| Info |
|---|
Step 11: If a User does not have the Edit Permission for Participants, they will be logged out of the CMS at this point. The User needs to verify with the PI that they have Edit Permission for Participants assigned to their Role under Permissions. |
Method Two: Group Code
Prior to setting up the participant on a phone, you will first need the Group Code from the CMS.
...
Rules of Behavior describe security controls associated with user understanding of Insight data and security protocols as well as responsibilities and certain expectations of behavior for the following security policies, standards, and procedures. The Insight Platform used to create web and mobile applications is for Individuals who are authorized to use the University of Oklahoma Health Sciences Center (OUHSC) Insight Platform must comply with the specific Rules of Behaviors (RoB) listed below.
| View file | ||
|---|---|---|
|
Project Change Request
...